


If you’ve been on the search for a good shed kit but aren’t sure how to build a shed yourself, you’re in the right place. In this article, we’re going to talk about how to select the right shed kit for you, how to assemble it, and some finishing touches. You’ll be able to start enjoying your diy shed in no time.
Finding the right shed
There are a lot of shed kits out there, and the choices can be overwhelming. Do you want a small shed for garden tools? Something larger for your lawn mower and balcony furniture? Or are you looking for a workshop sized industrial shed?
For most potential shed buyers, a diy shed kit is perfect. EasyShed offers a lot of different sizes and roof designs so that you can pick out the type of shed that will look great in your backyard and, most importantly, be functional.
One important consideration for selecting your backyard shed is size. We say this because one thing you’re going to want to do before you build a shed is lay a good foundation. Maybe you want a huge shed in your backyard, but laying a concrete slab is going to be really difficult if the landscape of your space is uneven. So, make sure to have a plan for laying your foundation before you order your shed kit.
Another thing to think about here is planning permission. If you don’t want to worry about getting a permit from your local council, you’ll want to check the size shed you can build without one. In most places, sheds that are less than 10 square metres are okay to build without a permit. You can learn more about this process by reading our recent blog article, What Size Shed Can I Build Without A Permit.
A few tips before you start assembling
There are a few things you can do to make it easier to build a shed when it gets delivered to you.
First is making sure you have all the tools you need. Here’s a checklist:
- Safety gloves and goggles
- Safety knife
- Power drill with a #2 phillips driver bit
- Tape measure
- Pliers
- Level
- Step ladder
- Pencil or chalk (to mark where your shed should fit on the foundation)
For most diy shed kits, you can assemble most of the shed on your own. But in order to fasten the roof panels and to make the overall process easier, you’ll need a helper.
You can also make the assembly process easier for your diy shed if you have a good work area. It can be useful to join the shed panels together on top of a work table. If you don’t have a large worktable, you can make one with a couple of trestles and flour planks (two that are about 3000mm and two that are 1800mm) fastened together and laid on top.
It’s also very important that you don’t assemble your shed kit on a windy day. High winds can damage the panels and lead to personal injury.
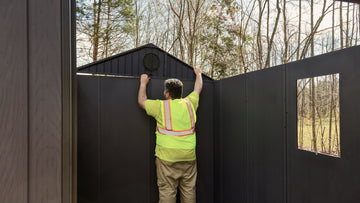
How to build a shed
Once you’ve laid the foundation and prepared your work area, it’s time to start assembling your shed. We’re going to walk you through the basics of putting together an EasyShed shed kit, but it’s important to also read through the directions that came with your shed. Every model is slightly different, and there may be a few extra steps that you’ll need to pay attention to.
When your shed kit is delivered, make sure you lay out and familiarise yourself with all of the components. An EasyShed shed kit comes with labeled components and a checklist for all of the parts in the shed kit, so that you can make sure that you have everything you need to get started.
Here’s a video to get a sense of what you’ll be doing during installation. You can also refer to more in detail directions, below.
Step One: Back panel assembly
A back panel will be made up with sheets and two U channels. To assemble the back panel, you will overlap the sheets and fasten them together. Then, you will affix the U channels with the higher side facing the inside of the shed.
The U channels should be flush with each end of the panel, giving you one rectangular back panel.
Step Two: Side walls assembly
If you have purchased a gable-roofed or a skillion-roofed diy shed, your side panels will be made up of sheets with different angles. This will allow for a pitched roof. This will look slightly different, of course, if your diy shed has a flat roof.
Assemble the side panels one at a time by overlapping the sheets and fastening them. With a gable-roofed shed, you will have three U channels to affix to the top and bottom of the panel. You will also fasten a gusset between the two U channels on the top.
Repeat with the other side wall panel.
Step Three: Roof panels assembly
The basic concept of the roof panel will be similar to that of the back panel. However, after you’ve overlapped and fastened the panels, and affixed the U channels, you will add one L flashing to each end of the roof panel.
The L flashings fit between the outside face of the sheet and the U channel.
If you have a gable-roof shed kit, you will assemble two roof panels. For a skillion roof or a flat roof, you will assemble only one.
Step Four: Attaching the ridge beam to the roof panel
For a gable-roofed shed, you will attach a ridge beam to one of the roof panels. To do this, flip the roof panel over so that the inside is face up. The ridge beam will slide over the U channel and overlap the L flashings.
Once the ridge beam is aligned, fasten it to the U channel so that the screw tip is located in the hollow of the rib of the roof panel sheet.
Step Five: Door assembly
This step can be tricky, because you want to make sure that when the doors are hung, they are evenly aligned. Otherwise, they will not open and close correctly.
Each door panel (your shed kit may come with one or two) includes a sheet, one vertical U channel, one hinged U channel, two horizontal U channels, jambs, and a door lock. When fastening the veritcal U channels and jamb, you’ll want to ensure that they are aligned with the edges of the door sheet and the vertical sheet rib lines.
The door lock will be fastened halfway up the door.
Step Six: Front panel assembly and attach door(s)
The front panel will house the door(s), so it’s crucial that you pay close attention to alignment. In fact, it can be helpful to lay out all components to ensure that they properly align before assembling with screws.
In some shed designs, your door(s) will sit in the middle of two sheets. In others, there will be one sheet. Refer to your shed kit instructions to see the placement of the U channels.
When you’re ready to set the door into the panel, double check to make sure that the door fits correctly. The door opening should be the same width at the top and bottom of the panel. Then, you’ll flip the panel over and fasten the door hinges.
There are two internal door locks that can be fastened to the U channels with an overhang of 50mm. You will also fasten door braces to the inside of the doors. One end of the door braces will be fastened to the sheet, and the other end will be tucked under teh door U channels and fastened.
Step Seven: Installing the walls
At this point, you have all of the panels fully assembled. The next phase will be installing the panels and fastening them together.
Remember that this part of the assembly process should only be done when there is no wind. It will also be much easier to assemble with the help of another person.
To start the installation, lay out all four walls with the exteriors face down around your foundation. Start by raising two adjacent panels. They will overlap so that the side panel rests in the cut-out section of the front and rear U channels. Fasten the panels together from the outside of the shed.
You will work in the same way for the remaining two walls. Before moving onto the roof installation, it’s important to measure your shed to ensure that your base is even. Measure the diagonal measurements and move forward only if they are equal. You will also want to use your chalk to mark the placement of the four corners on the concrete as thee walls may adjust during roof installation.
Step Eight: Installing the roof panels
With the use of a step ladder, you can start to install the roof panels. Keep in mind that it is not safe to climb on the roof. You could damage the panel and risk personal injury.
If your shed kit is a gable roof, slide the roof panel with the ridge beam into position. The ridge beam should be aligned directly over the centre of the side walls. Fasten the roof panel with two screws in the L flashings of the wall panels. Then, you can place the second panel and attach it to the ridge beam from inside the shed.
Your roof is not yet installed, so take a moment to re-check your diagonal measurements at the base. If they are still equal, you can fasten the corner and centre of your roof panels to the front and rear walls. Make sure that the roof overhang is parallel to the shed and that none of your walls looks uneven (bowed in or out.)
Now, you can fully fasten the roof to the walls from the outside. You will fasten the roof panels through the sheet to the U channels of the walls. Then, you can affix the ridge beam ends into the side walls. There are two ridge apex brackets to fasten.
Step Nine: Fasten your shed to your base
Your diy shed is now ready to be secured to your base. And you’re done! Take a step back and admire your work - you know have a fully-functional shed.
The finishing touches
Now that you’ve assembled your shed kit, it’s time to put the finishing touches and start enjoying your diy shed.
Flooring is going to be a great addition to your shed. There are many different options, depending on what your intended use is for your shed. If you’re going to be working long hours, we recommend flooring cover that will be easier on your knees and back than a bare concrete slab. Another good option might be floating timber floors or sheet vinyl.
You’ll also want to make sure that your shed is weather-proofed. The good news is that EasyShed products are made of very strong materials that will withstand wind. And, with a gable or skillion design, you don’t have to worry about water pooling on your roof. But, there are still a few things you can do to protect the interior of your shed.
Refer to our article on waterproofing your garden shed to learn about how to keep your shed dry. You can also keep rodents and other pests out of your shed with our tips on how to pest-proof your shed for winter.
One final thing that you’ll want for your shed is adequate storage. Invest in some high-quality shelving, tool holders, and hooks to keep your diy shed organized and keep your items off the floor. EasyShed offers plenty of helpful accessories to complete your shed.
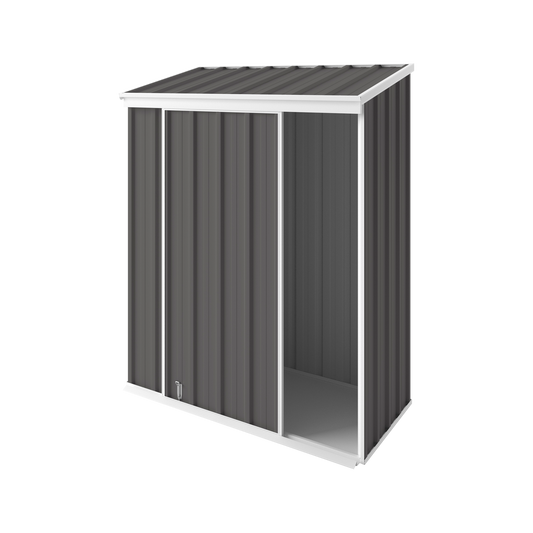
1.5m x 0.78m
Narrow Slider Shed
$788
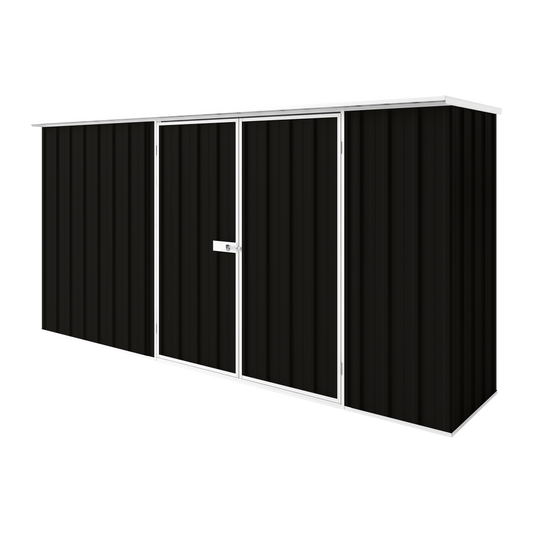
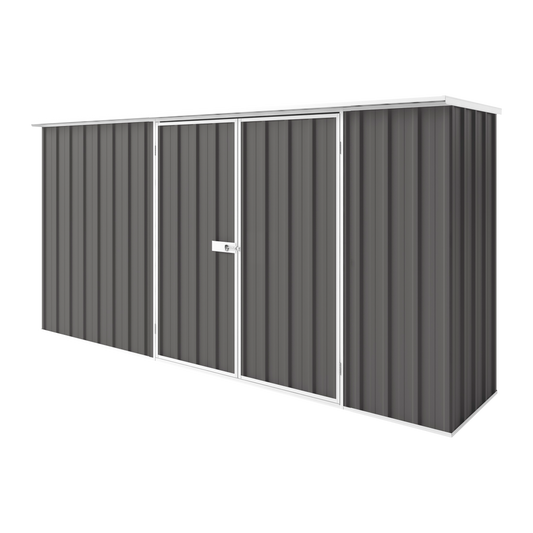
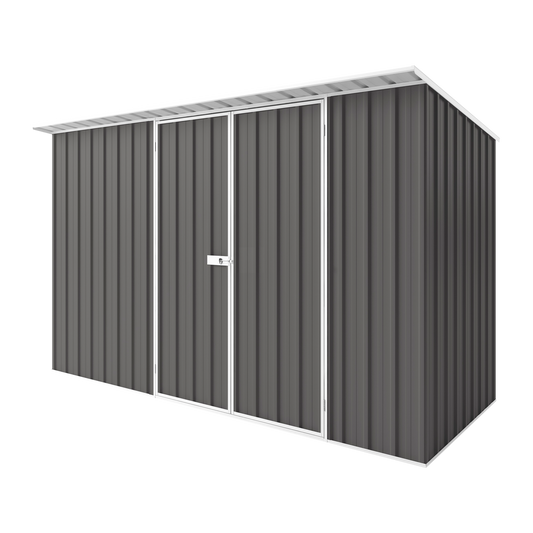
3.75m x 0.78m
Flat Roof Shed
$1,333
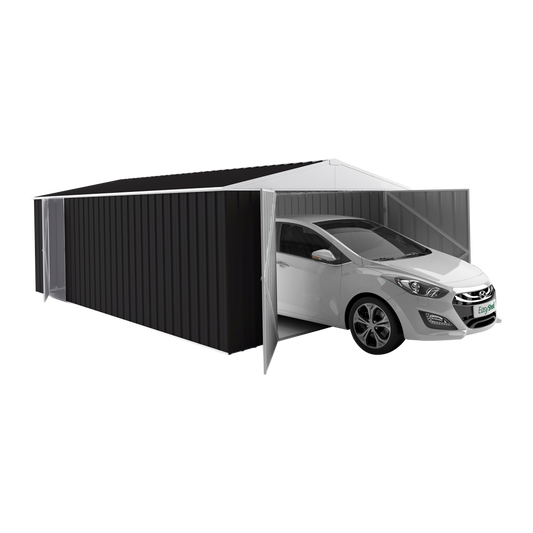
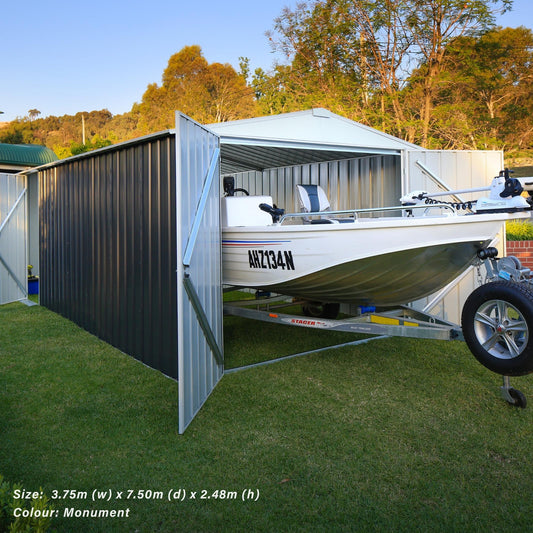
3.75m x 4.5m
Garage Shed
$3,571
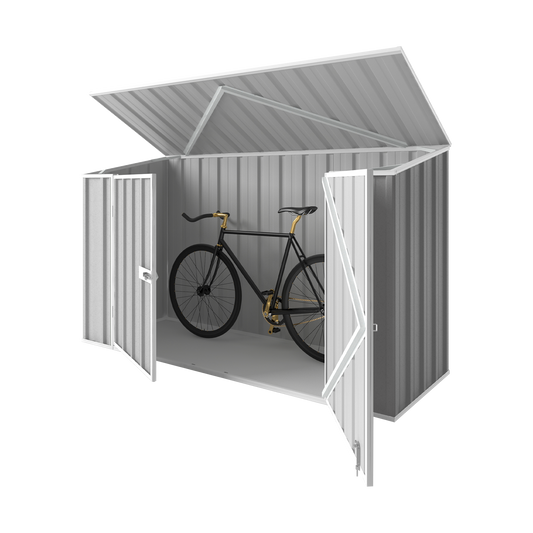
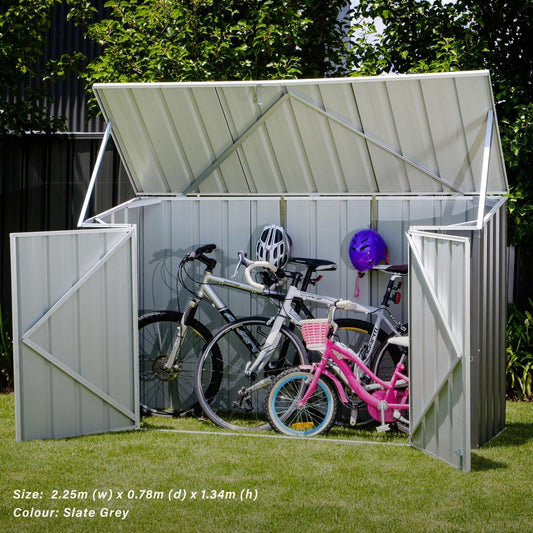
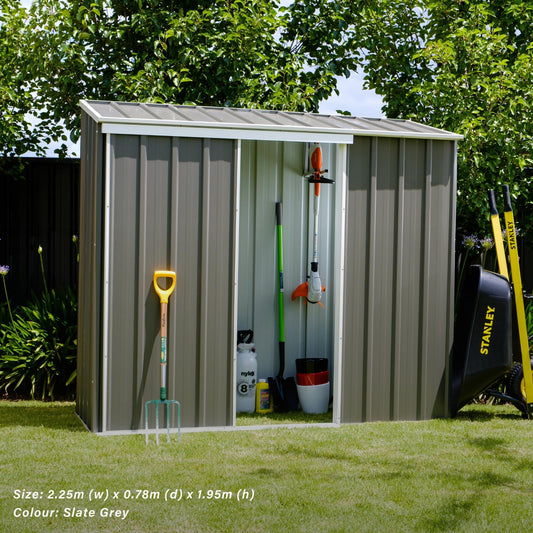
2.25m x 0.78m
Bike Shed
$746
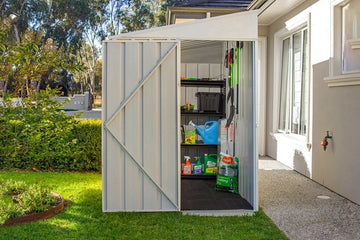
3.75m x 1.5m
Skillion Roof Shed
$1,330
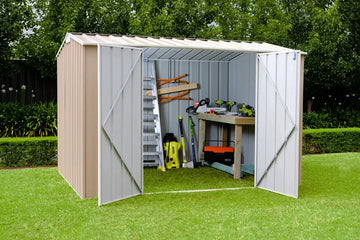
3m x 1.5m
Gable Roof Shed
$1,147
Congrats! You know how to build a shed!
Now that you have all the information you need to build your own diy shed, when will you put in your order for your new shed kit? We’d love to know what your plans are for your shed and answer any questions you have about assembly!